


If you're new to haxeflixel and you're using Visual Studio Code, then this is one of the most valuable pieces of advice that I can give you:
STOP USING LIME TEST!
When you want to play and test your projects (which you'll most likely be doing in html5), the default command you'll use is "lime test html5". This will build your project and get a server running for it to run on, and it'll open a tab in your browser for you to test your game. The issue with this is 2 things:
- The server runs only one build of the game, so if you want to rebuild and test it, it will open a new tab rather than receiving those changes live.
- It is unknown to us why, but sometimes the lime gods can be cruel and throw an unknown error at us that will prevent the build from running
But fear not dear Flixian! For there is another path you can take to test your games in html5 in VScode! And it is called Live Server! Live Server is a fantastic extension for vscode, that runs html5 code and refreshes to show any changes that you've made in the IDE. That means no more opening tabs, and no more praying to the lime gods to get that server connection working. The only thing you have to do is make ONE tiny edit to your project's build system.
To get live server going first search for it in the extensions tab and install it:

Then, go into .vscode/tasks.json and make this edit:
{
    "version": "2.0.0",
    "tasks": [
        {
            "type": "lime",
            "command": "test", // change "test" to "build"
            "group": {
                "kind": "build",
                "isDefault": true
            }
        }
    ]
}
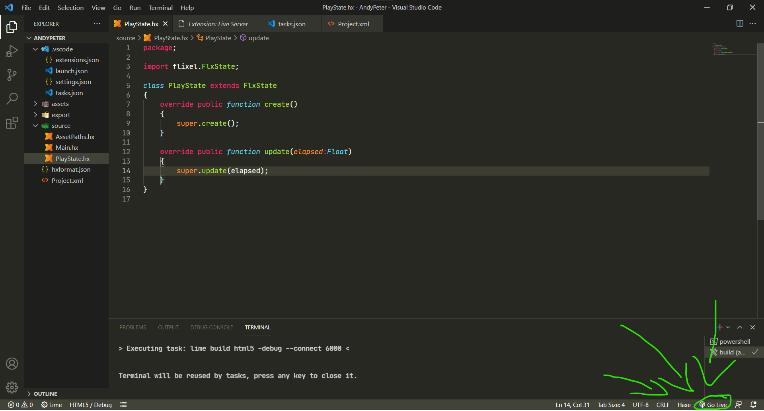
This will make the default command run with Ctrl+Shift+B "lime build", meaning it will build the project but not create a server/tab for it. The final step is actually running Live Server after you've built the project. To do that, click the "Go Live" button in the bottom right of the editor:
Once clicked, a tab will open in your browser with this window with a list of the projects folders. The html file of your project will be located in export/html5/bin, so just click on the according folders.


once you click on bin, live server will run your project and refresh for any changes to the code in the IDE (including each time you build). Sometimes you might get an error and your game won't run, but it's usually nothing a refresh of the tab can't fix.
Or, if you don't wanna go through all those clicks you can go into the settings of the extension, click on this:
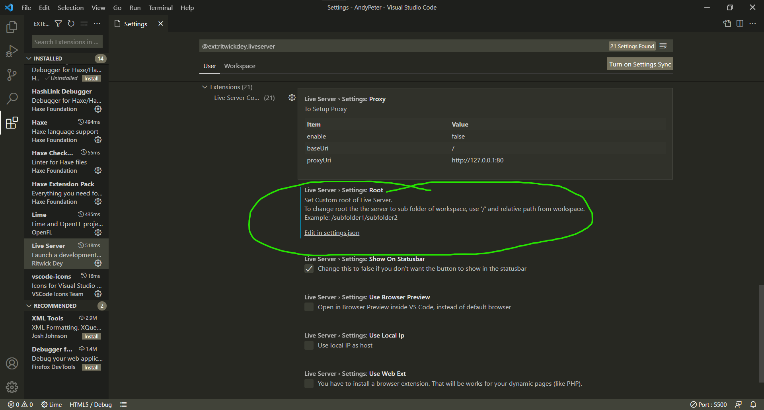
and it'll open a json file where all you have to do is:
...
    "vsicons.dontShowNewVersionMessage": true,
    "security.workspace.trust.untrustedFiles": "open",
    "liveServer.settings.multiRootWorkspaceName": "export/html5/bin",
    "liveServer.settings.root": "/" // change this to "/export/html5/bin"
}
(thanks to @BobbyBurt for showing me this)
If you don't want to edit tasks.json every time that you create a new project, I have a flixel template that comes with it preconfigured for you, alongside some other things that I find handy. That's about it, so have fun and happy travels making your games!
BobbyBurt
To add to this, you can go into the settings of Live Server and set it to always load export/html5/bin
migmoog
Which setting? If you could show it I'd love to add it to the post